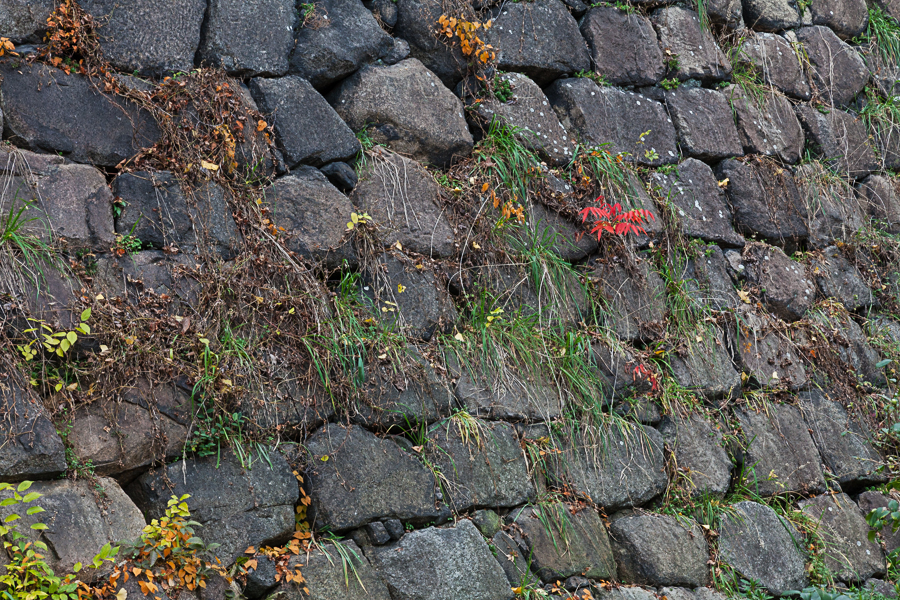
78.7 Moat Wall – pic 2 (IMG_3921) December 5, 2017 by johnliddlephotography Leave a comment ← Previous Image Next Image → Moat Wall – pic 2